Category Archives: Windows 8

Set your Windows Phone 8 app as a lock screen provider

A great feature introduced in Windows Phone 8 is the ability for an app to become a lock screen provider. The feature enables more personalization for the users who can have content on their lock screen that is relevant to them, and that updates! Say for instance that you creates an app for a social network that handles images submitted by a user, then you can use this feature to show different images from that image collection on the users lock screen. To update the lock screen image periodically, you can use a background agent. As always you can find the demo project as a zip file in the end.

Only one app can be used as a lock screen provider at the time, and the user can change the provider form the settings panel or an app can request to be the provider at run time.

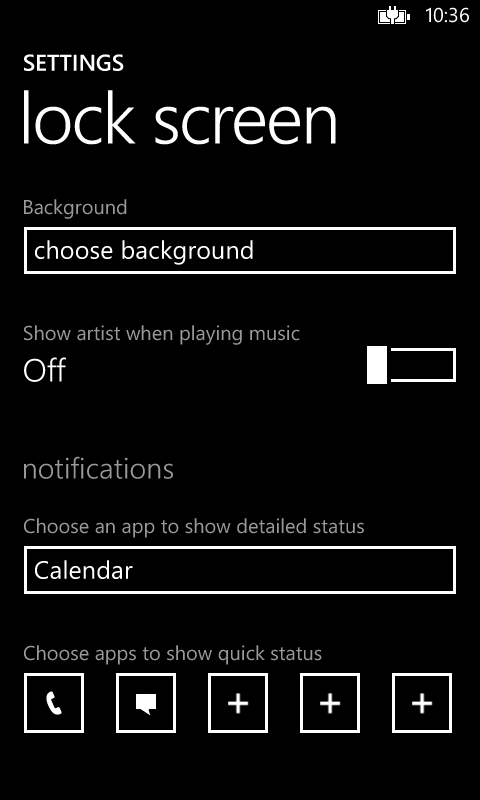
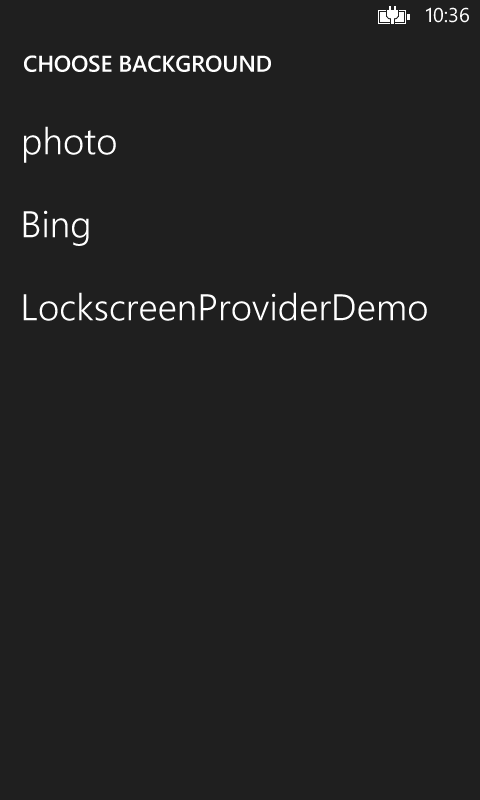
To change the provider outside any app, the user can do this by going to settings and then lock screen. Here is a drop down list called “Background”. The apps presented here is the ones with the required capability in the manifest. We will take a look at this later on.

lockscreensettings          chooselockscreenprovider

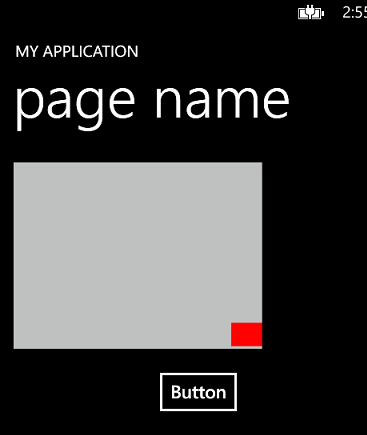
So let’s look at the code. For this demo I have created a demo image in Paint. We will start our demo with a new Windows Phone project. Then we will add my image to a folder that we can name Images.

folders

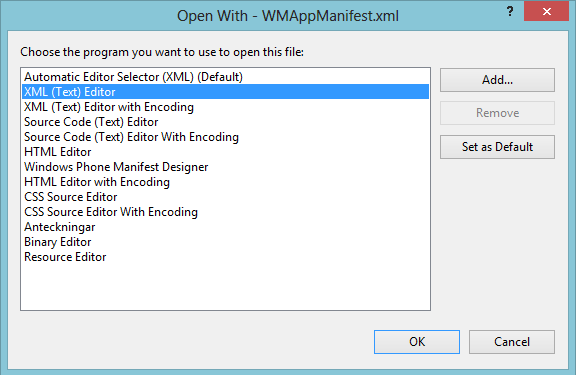
When this is done we need to take care of the app manifest. In this case we can’t just open it like we do when we add capabilities and other features. Instead we need to open with an XML-editor. Right click the WMAppManifest.xml file and choose Open with. In the dialog that is shown, select XML (Text) Editor and press OK. This will open up the manifest file as XML.

openwith

Next step is to add the extension.


This must be added just below the tag!
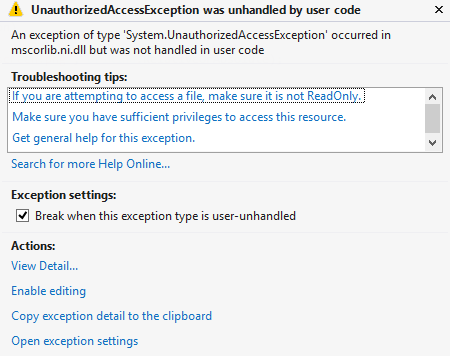
What happens if we forget the manifest step? If you do you will, as with capabilities, run into an exception while trying to set the background image, as seen below.

exception

Now when everything is set up, we will dive into the code and with just a few lines add great functionality to the app.

We will create an async method where we will add our code that we want to run when the app starts to set the background image, and then call the method from the constructor.

The first thing in the new method is to see if our app is currently the provider, and if not, ask the user if he/she want to use the app as the provider. (If the user has selected the app via settings, the app will be the provider).


//Check to see if the app is currently the lock screen provider
if (!LockScreenManager.IsProvidedByCurrentApplication)
{
    //Request to be lock screen provider
    await LockScreenManager.RequestAccessAsync();
}

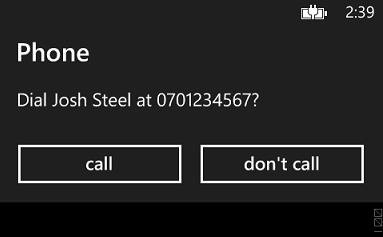
This will result in the following when starting the app;
setaslockscreen

As we see, the user is in control of his/her phone and the app cannot change anything without his/her knowledge.
Next step is to set the image as lock screen background. This can also be done by a background agent if periodically updates is the goal.

//Check to see if the app is currently the lock screen provider
if (LockScreenManager.IsProvidedByCurrentApplication)
{
    //Set the image to the lock screen image
    Uri imageUri = new Uri("ms-appx:///Images/lockscreen.png", UriKind.RelativeOrAbsolute);
    LockScreen.SetImageUri(imageUri);
}

The whole method will look like this;

private async void SetLockScreen()
{
    //Check to see if the app is currently the lock screen provider
    if (!LockScreenManager.IsProvidedByCurrentApplication)
    {
    //Request to be lock screen provider
    await LockScreenManager.RequestAccessAsync();
    }

    //Check to see if the app is currently the lock screen provider
    if (LockScreenManager.IsProvidedByCurrentApplication)
    {
    //Set the image to the lock screen image
    Uri imageUri = new Uri("ms-appx:///Images/lockscreen.png", UriKind.RelativeOrAbsolute);
    LockScreen.SetImageUri(imageUri);
    }
}

When we run the app we will can use F12 to simulate the power button to lock the phone and then to unlock it. This will show us that we succeeded in setting a new background image to the lock screen!
changedlockscreen

 
download source code

Guide to Launchers and Choosers

Launchers and choosers are great example of how you can use the Windows Phone 8 platform to add built in functionality to your app in a consistent way. The big benefit except constancy is that you can add quite complex tasks to your app without having to re-invent the wheel or code “nice to have functions” but instead focus on your business goal and app purpose and the best of it all, it’s easy to get started. The biggest difference between launchers and choosers are that launchers launches a task without having some return value while choosers launches a task that returns a value or an item.

Remember, the different launchers and choosers might require capabilities enabled in the app manifest!

Launchers are functionality to launch a task to be performed from your app e.g. a phone call. A note is that when the launcher is executed, the user will leave your app, and might not return. In other words, the app will become dormant or tombstoned. If the user returns, the app will be Activated or Launched at that point. You can often configure the input to a launcher but for some it’s not necessary. A good example for the modification of the input to a launcher is the PhoneCallTask. It requires a phone number to be supplied, but the property for displayname is optional. You can use the PhoneCallTask in your app to provide a phone call functionality with only three lines of code, and still get a consistent UI that the users are familiar with. Below is two code examples for how to add a PhoneCallTask to an app. (The Phone CallTask needs the capability ID_CAP_PhoneDialer.)

Just invoking without display name;

 
            var phoneCallTask = new PhoneCallTask();
            phoneCallTask.PhoneNumber = m_Customer.PhoneNumber;
            phoneCallTask.Show();

Setting the displayname;

 
            var phoneCallTask = new PhoneCallTask();
            phoneCallTask.PhoneNumber = m_Customer.PhoneNumber;
            phoneCallTask.DisplayName = m_Customer.Name;
            phoneCallTask.Show();

The result will be;

phoneCallTask


There is a great number of Launchers and the complete list are;

launchers

Choosers are as I pointed out earlier, something that returns a result, if the user returns. As with launchers, the user will leave the app when the chooser is executed and there is no guarantee that the user will come back. Choosers can be used to improve your app and give you as a developer a shortcut to functionality that you might need e.g. pic a photo from the photo album. When we code the choosers we need to add a callback for when (if) the chooser returns with a result since we leave the app. You will find an example below, of how to pick a photo from the media store and displays it in the UI. In this example we will also add the feature to take a picture with the camera.


        private void Button_Click_1(object sender, RoutedEventArgs e)
        {
            var photoChooserTask = new PhotoChooserTask();
            photoChooserTask.ShowCamera = true;
            photoChooserTask.Completed += photoChooserTask_Completed;
            photoChooserTask.Show();
        }

        void photoChooserTask_Completed(object sender, PhotoResult e)
        {
            if (e.ChosenPhoto != null)
            {
                var bitMap = new BitmapImage();
                bitMap.SetSource(e.ChosenPhoto);
                MyImage.Source = bitMap;
            }
        }

And the result will be;
photochooser
The list of choosers are shorter than the list for launchers but contains a great deal of nice built in features;

choosers

Our first app got big attention in local media

Kind of cool, the app we developed for the local news paper NWT got big attention in the local media.

First Sogeti released a press release.

Then NWT posted an article(in swedish) about their app on their web site.

Finally the article also showed up in the paper version of the paper! 🙂

This is an addition to the attention it already got on Microsoft WPC earlier this year! 🙂

Failing by privacy statement in Windows Store

The first time I submitted an app to Windows Store, it got failed by privacy settings. In the guide lines that were provided, it was stated that if any data about the user is saved or shared, a privacy statement was neded. We didn’t save or share any user data but we added a privacy statement in the app before submitting but it got failed anyway. We got a bit confused but found out that we also needed a link to the privacy statement in the store (see picture below), and that the reason that we needed the privacy statement was because we used the internet connection. The guide lines are now updated with this information, see 4.1.1 in Windows Store certification guide lines.

So before submitting your app, if you are using the internet connection or have that capability set in the app manifest, don’t forget to submit a privacy statement – both in the app and in the store as well!

Privacy policy for app
Click on Picture for larger version.